
Introduction
Have you ever caught yourself wondering how to remove rear view mirror without making a trip to the auto repair shop or without causing havoc on your windshield? Worry not! Whether it’s for a repair, an upgrade, or simply because it’s become a pesky hindrance, removing the rear view mirror off your car’s windshield can be a breeze. In the next few paragraphs, we’ll guide you through an easy-peasy process ensuring that you can take off your rear view mirror effortlessly.
Taking rear view mirror detachment into your own hands doesn’t have to be intimidating. As we break down the steps, you’ll find that with the right tools and techniques, it’s a task you can tackle with confidence. Sooner than you imagine, you’ll master how to remove a rear view mirror and even how to reattach rear view mirror or install a spanking new one should the need arise!
Tools Needed for Rear View Mirror Removal
Prior to embarking upon the meticulous process of rear view mirror detachment, it is imperative to procure an assortment of tools that will facilitate a seamless operation. Initially, one must secure a heat gun of unquestionable reliability or a blow dryer to counteract uncooperative climatic conditions. Subsequently, an ultra-sharp razor blade or a specialized scraper is indispensable for addressing the tenacious adhesive affixed to the mirror mount.
Furthermore, an application of acetone or the utilization of a robust fishing line is required to sever the glue bonds with surgical precision. Complement this with the strategic placement of masking tape to shield the vicinity of the metal button or rear view mirror button from inadvertent damage. Lastly, a set of resilient rags is essential for the ensuing cleaning operation. Arming oneself with these implements is akin to a technician preparing their arsenal; you are now aptly equipped to tackle the disassembly with prowess.
| Tool Category | Specific Tool | Purpose |
| Heating Device | Heat Gun or Blow Dryer | To soften the adhesive attaching the rear view mirror to the windshield. |
| Cutting Instrument | Razor Blade or Scraper | To gently scrape away the weakened adhesive after heating. |
| Adhesive Dissolver | Acetone | To dissolve any remaining adhesive residue on the glass. |
| Cutting Implement | Fishing Line | To saw through the adhesive between the mirror mount and the windshield. |
| Protection Material | Masking Tape | To shield the surrounding areas of the windshield from accidental scratches or damage. |
| Cleaning Supply | Rag or Cloth | To clean the windshield after the mirror is removed and to wipe away any adhesive residue. |
| Safety Equipment | Safety Gloves and Goggles (not listed but crucial) | To protect your hands and eyes during the removal process. |
Identifying Your Mirror Type for Proper Removal
As we progress into the intricate domain of rear view mirrors, it is essential to assess the specific attachment mechanism employed by your vehicle’s mirror to ensure its successful removal. Vehicles, ranging from the utilitarian dimensions of compact sedans to the voluminous proportions of lavish SUVs, are invariably outfitted with distinct forms of rear view mirrors.
To initiate the process with precision, one must ascertain whether the rear view mirror in question is affixed via a screw mechanism, a sliding apparatus, or bonded directly to the windshield’s surface. This preliminary diagnosis is crucial. Consider whether your mirror is secured by a supportive bracket or if it is fixed to a metallic button – each scenario demands a tailored approach. Mirrors that are bracket-bound typically necessitate the use of a screwdriver to meticulously loosen the fixing, thereby liberating the mirror. Conversely, those that are button-based require strategic application of heat, coupled with the finesse of employing a fishing line to sever the bond. Proficiently discerning how to disengage your rear view mirror from its mount by understanding its unique attachment method is tantamount to conquering half of the strategic endeavour.

Safety Tips Before You Start Mirror Detachment
Before you embark on the technical endeavour to remove a rear view mirror, it is paramount to observe stringent safety measures. Begin by meticulously applying masking tape to the periphery of the work area. This acts as a defensive barrier to shield against potential mishaps with cutting tools and to ensure the integrity of the vehicle’s interior surfaces is preserved.
Equipping oneself with protective eyewear is non-negotiable. Consider this a mandatory precaution as the removal process could inadvertently propel fragments of adhesive or glass into the eyes, resulting in severe harm. Moreover, before addressing any of the mirror’s integrated electronic components—be it navigational aids or intricate wiring networks—verify that the vehicle’s ignition is deactivated to eliminate the risk of electrical discharges. Adhering to these safety protocols is not merely an adherence to conventional wisdom; rather, it serves as a fundamental safeguard, providing a layer of security as one navigates the complexities of automotive maintenance.
Step 1: Preparing Your Work Area
In the initial phase of preparing for the intricate task of a rear view mirror extraction, it is advisable to emulate the culinary discipline of ‘mise en place’. This underscores the necessity to cultivate a clutter-free environment to foster efficiency and negate the risk of unintended damage. Relocate all extraneous items from the vicinity—this includes any documents, beverage containers, and miscellaneous objects that could inadvertently become collateral during the process.
The next course of action is to secure the immediate area surrounding the mirror’s base with masking tape. This is a precautionary measure enacted to prevent unsightly abrasions on the glass surface of the windshield. It is equally vital to ensure that all the necessary tools are positioned within reach, allowing for an uninterrupted and fluid workflow. Akin to a surgeon in an operating theatre, one must be ready to proceed with a deliberate and unyielding resolve once the removal process commences.
Step 2: Disconnecting Mirror Wiring Safely
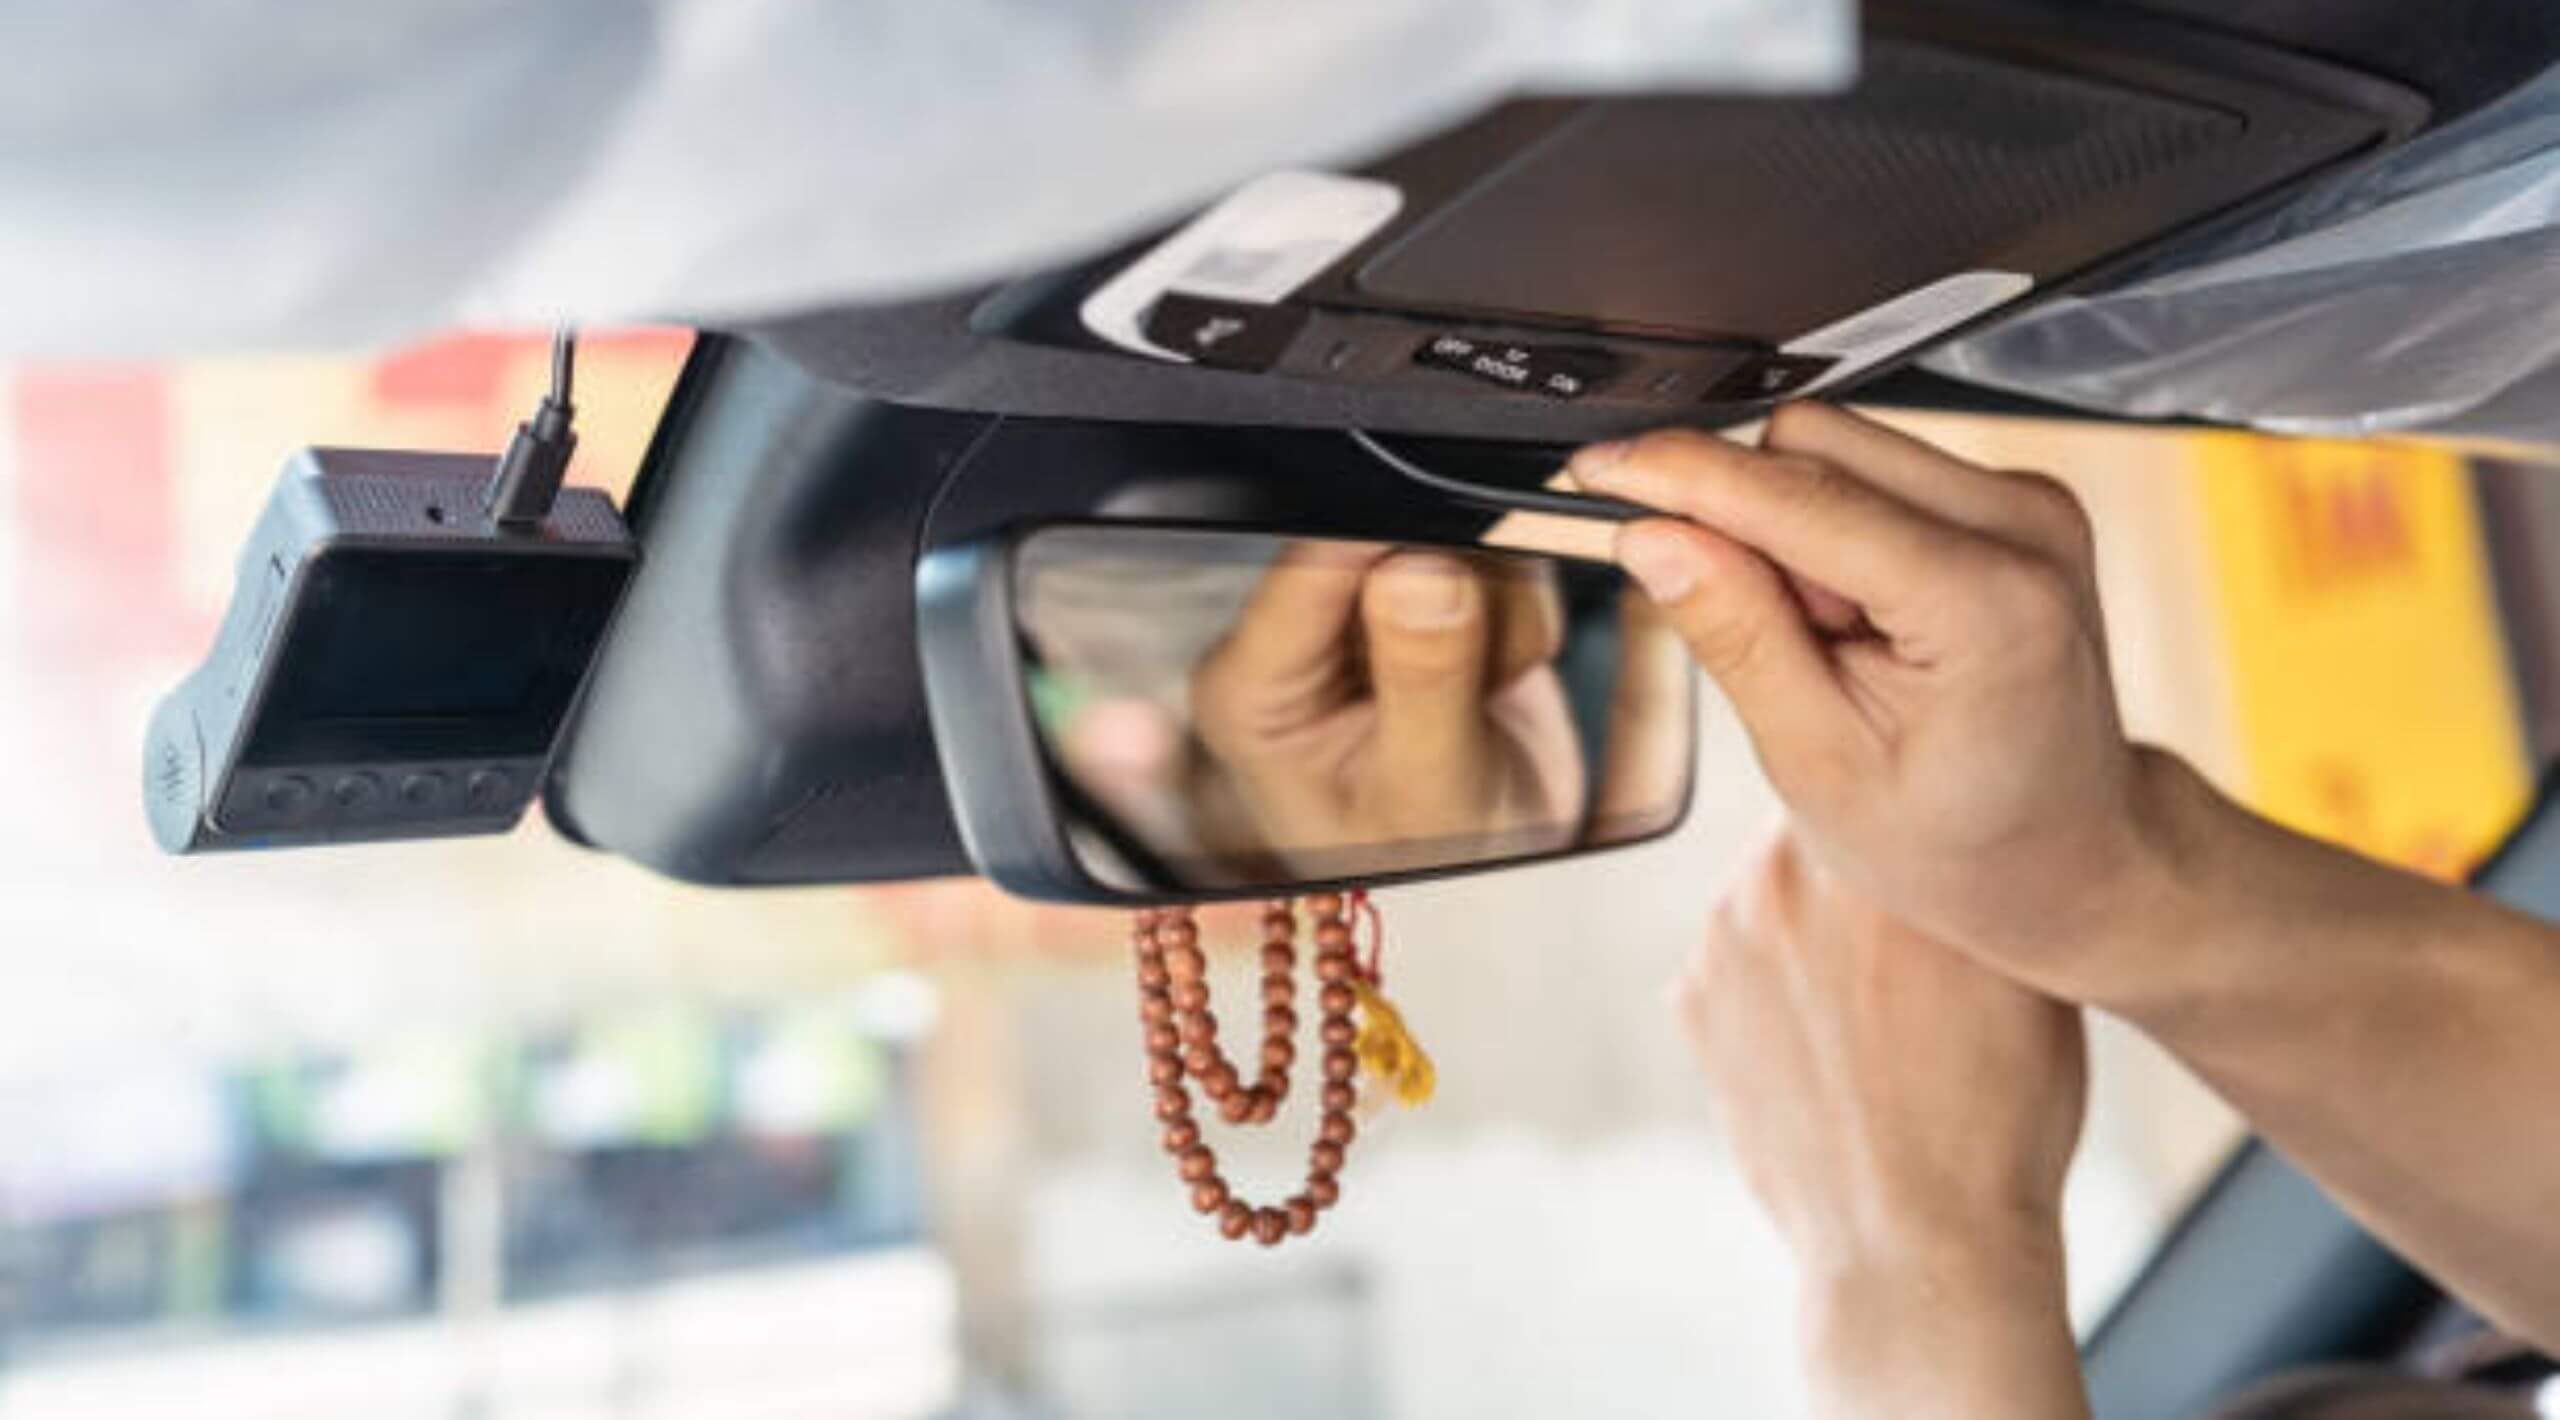
Navigating the more technical aspects of rear view mirror removal, attention must now be directed towards the electrical features potentially integrated within your mirror assembly. It is critical to cautiously detach any wiring before proceeding to preclude inadvertent damage. Identify the electrical connector, which is typically concealed behind the mirror or embedded within the overhead console. With a gentle and precise manipulation, endeavor to separate the connector. Should it resist disengagement, employ a screwdriver with the utmost delicacy—mirroring the finesse required to extract a pearl from its oyster.
Should your mirror incorporate additional functionalities, such as a directional compass or an external temperature gauge, make a careful note of the wiring configuration. Capturing a digital image using your smartphone could serve as a valuable reference point for reassembly. While this procedure may not be as complex as aerospace engineering, it does demand a combination of patience and the skilled hand reminiscent of an experienced technician.
Step 3: Loosening the Adhesive Effectively
Envision the scenario: the preliminary arrangements have been meticulously executed, and the next objective is to mitigate the steadfast adhesive—a formidable opponent anchoring the rear view mirror to the windshield with unyielding tenacity. It is time to cautiously deploy your heat gun or blow dryer, taking care not to apply excessive heat; the intention is to soften the adhesive, not to subject it to extreme temperatures that could compromise the glass integrity.
Gently administer heat in a circumspect, rotational pattern around the mirror mount, ensuring a uniform application. This judicious application of heat will gradually undermine the adhesive’s grip, paving the way for the precise insertion of a fishing line or the edge of a razor blade. Navigate the implement behind the mirror with care, noting with satisfaction the incremental capitulation of the bond that once seemed indomitable. The process should be executed with the delicacy and finesse of a patissier trimming a confection—effortless and precise. It becomes apparent that a blow dryer, often relegated to personal grooming, can indeed be repurposed as an indispensable instrument in the detachment of a rear view mirror.

Step 4: Detaching the Mirror from Mount
With the preparation complete and the stage aptly set, you now approach the critical juncture of the process: the disengagement of the rear view mirror from its mount. It is essential to maintain a composed demeanor as you grasp the mirror—or the metal button that serves as its anchor—and impart a controlled twist or a pull, fusing delicacy with firm resolve. Should the mirror be suspended upon its mount with gravity-defying audacity, be vigilant for any concealed screws, elusive retaining pins, or sliding mechanisms that oblige a discerning and calculated revelation.
Upon successful detachment, a moment of subdued exultation is warranted. Whether you’ve executed the task with the assistance of a vise grip or relied solely on steadfast manual dexterity, the removal of the rear view mirror marks a commendable accomplishment. Yet, restrain from engaging in premature celebration; the diligent craftsman must now turn their attention to the meticulous finalization of the project, ensuring no detail is overlooked in the conclusion of this automotive endeavor.
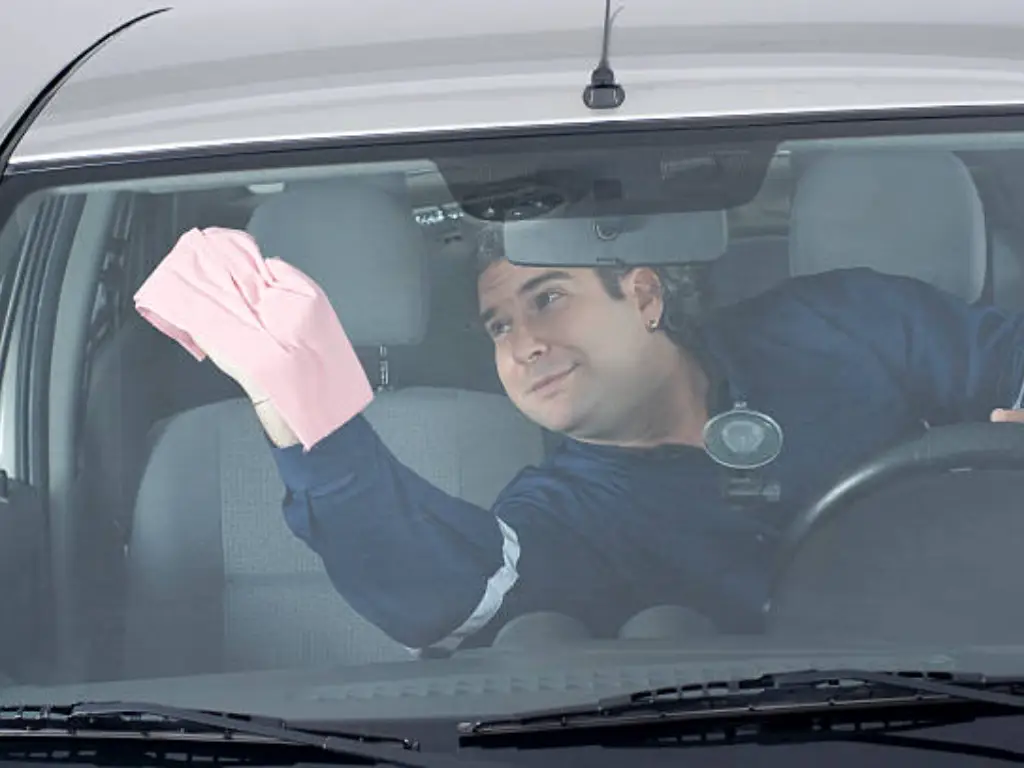
Final Touches: Cleaning the Windshield Post-Removal
The meticulous operation to dislodge the mirror reaches its denouement—yet victory is incomplete until the windshield is immaculately cleared of any residual detritus. Arm yourself with a cloth, impregnated with a solution of acetone or a trusted brand of glass cleaner, primed for the task at hand. Through a series of vigorous yet careful scrubs, the vestiges of the rear view mirror’s presence are eradicated, leaving behind nothing but the unblemished clarity of the glass pane—a stark canvas save for the inverted semblance of your satisfied grin.
As you methodically erase every trace of adhesive—a final tribute to the erstwhile companion—your proficiency in the fine art of rear view mirror replacement is solidified, your readiness to affix a replacement is indisputable. Just ensure the application of an activator prior to the adhesive, for this crucial preparatory step is tantamount to laying the foundation for a steadfast and enduring bond between the new mirror and the windshield.
Mirror Replacement Options After Removal
In the aftermath of the removal, you may encounter a palpable sense of absence where your steadfast rear view once resided. Do not despair. The spectrum of rear view mirror replacements is extensive; you are at liberty to select from avant-garde assemblies replete with sophisticated gadgetry and navigational implements, or opt for a discreet, minimalist mirror that unassumingly blends into your vehicle’s interior.
Prior to initiating the installation, ascertain that you have procured the correct variant of adhesive—a crucial factor for a secure bond—and, if necessary, a new rear view mirror button to replace any compromised components. Your technical toolkit, ever the stalwart companion, should be at the ready. As you contemplate how to replace rear view mirror, marry considerations of aesthetic appeal with functional integrity. This juncture may present an opportune moment to enhance your driving experience with an upgraded mirror, perhaps one integrated with a dashcam or equipped with lane departure alerts for augmented safety and peace of mind. In orchestrating this vehicular enhancement, allow your personal preferences to choreograph a harmonious balance between form and function.
FAQ
Can I remove the rear view mirror without special tools?
True, it’s possible to do without specialized tools, but improvise with caution. For mirrors affixed with screws, a simple screwdriver may suffice for detachment. When dealing with adhesive, the process gets trickier. A heat source such as warm water poured over a rag and applied to the mount can substitute for a heat gun, loosening the glue. Dental floss may act as a stand-in for fishing line to slice through softened adhesive. However, lacking proper tools may elevate the risk of damage or injury, prolong the process, and ultimately, leave you with an imperfect result. Hence, while possible, it’s advisable to arm yourself with the correct tools to ensure a smooth and safe removal.
How do I know if my rear view mirror is glued or mounted with screws?
The attachment style of your rear view mirror can typically be discerned upon close inspection. If your mirror is mounted with screws, you’ll notice screw heads or a bracket with screws securing the mirror to the windshield. A glued mirror, by contrast, generally has a metal button affixed directly to the windshield without visible screws. This button serves as the anchoring point for the mirror itself. Additionally, you may consult your vehicle’s manual as it often contains precise diagrams and attachment details for your specific model. Knowledge of the mirror’s attachment method is crucial before beginning the removal process to apply the appropriate technique.
Will removing my rear view mirror leave marks on my windshield?
It’s possible that removing your rear view mirror can leave behind residue or slight markings, especially if the mirror was glued. Any adhesive left on the windshield can appear as marks, but these are not permanent and can be removed. Upon detachment, you can use a designated adhesive remover or acetone to wipe away remaining glue. If the mirror was screwed in, there might not be any marks after removal, providing the windshield hasn’t been damaged during the process. Using protective masking tape around the work area, as advised in the guide, should help prevent any scratches or marks on the glass while removing the mirror.
How to reattach rear view mirror after removing it?
Reattaching a rear view mirror involves cleaning the mounting area, preparing it for a new adhesive, and precisely aligning the mirror for attachment. Begin by thoroughly cleaning off old adhesive residue from the windshield and the mirror’s button using an adhesive remover. Allow the surface to dry completely. Then, apply an activator or primer if suggested by your adhesive kit instructions. Following this, apply the recommended adhesive to the button or direct-to-glass mount. Carefully place the button onto the designated spot on the windshield, holding it in place for as long as the adhesive instructions dictate, which could be a minute or two. Allow the bond to cure for the recommended time before reattaching the mirror to the button.

What kind of adhesive should I use to reattach my rear view mirror?
The strength and durability of the bond between your rear view mirror and the windshield are crucial. For this purpose, use a rear view mirror adhesive kit that is specifically designed to withstand the environmental pressures experienced by vehicles. Such adhesives are made to be resistant to vibration, temperature fluctuations, and humidity, ensuring a secure attachment. Avoid using generic glues or household adhesive products, as these are not formulated for automotive use and may fail under stress, potentially causing the mirror to detach unexpectedly which could be dangerous while driving. Always follow the manufacturer’s directions closely when applying the mirror adhesive.
How do I deal with electrical connections in auto-dimming or smart mirrors?
Mirrors with additional electrical functions require a careful approach to avoid damaging the wiring. Before attempting removal, ensure your car’s engine is off and the key is removed from the ignition. Locate the wiring harness typically found behind the mirror and gently disconnect it, taking care not to tug or cut any wires. If you encounter resistance, use a trim tool or a screwdriver to softly pry the connector apart. During reattachment, make sure to correctly reconnect the harness before securing the mirror assembly. For complex systems or if unsure, consulting a manual or professional may be the safest route to assure proper handling.
Is it legal to drive without a rear view mirror?
Legality can vary by jurisdiction, but for safety and regulatory reasons, driving without a rear view mirror is generally not advised, or in many cases, illegal. Most regions require at least one rear-facing mirror that provides a view of the road behind. If the side mirrors are intact and provide sufficient visibility, some areas may allow for the absence of the central rear view mirror. However, for overall safety and to comply with the law, it’s best to maintain a properly functioning rear view mirror. If you’re unsure about the specific laws in your area, consult local regulations or a legal expert.
Customizing Your Mirror for Enhanced Functionality
Micmirror has established itself as a pioneering force in the realm of automotive rearview mirrors since its inception in 2017. Leveraging an advanced manufacturing infrastructure, along with cutting-edge product development and stringent quality control systems, Micmirror distinguishes itself by offering bespoke rearview mirror solutions. Whether you are in the market for car, truck, or motorcycle mirrors, their unmatched expertise enables a one-stop shopping experience that caters to the specificities of varied applications and market demands. Their service is a boon for businesses looking to source tailor-made automotive mirror systems, ensuring each component aligns perfectly with clients’ specifications and quality expectations.
Businesses searching for a reputable partner to elevate their brand will find in Micmirror a reliable and resourceful supplier. Benefiting from a self-operated factory and a well-maintained supply chain, the company delivers a vast selection of rear-view mirror assemblies and components for an array of vehicle models. Tailor-made to fit your precise requirements, Micmirror’s offerings can be customized in terms of size, curvature, material, and more. With a promise to respect both budget and schedule, their original equipment manufacturer (OEM) services—including meticulous processes of cutting, bending, coating, marking, and assembling—assure you receive products ready to reflect the quality and endurance your customers expect. By embracing the IATF16949:2016 quality standard, Micmirror ensures excellence and reliability, delivering everything necessary for businesses to capitalize on emerging market opportunities. If expanding your brand with confidence is your goal, then making Micmirror your rearview mirror supplier is your strategic first step. Contact Micmirror today and gear up to revolutionize your product offerings with premium custom rearview mirrors designed for distinction and durability.
Key Takeaways
The road from how to take off rear view mirror to, say, mastering the fine art of how to attach a rear view mirror is less treacherous than one might think. Remember, with the correct tools, a sprinkle of patience, and a twist of technique, you can become the master of your vehicular vista.
Key points to note are the prep work and identifying your mirror type, using the heat method judiciously, and finishing with a thorough clean. Whether it’s for cleaning, replacing, or just for the sheer adrenaline of DIY, removing rear view mirror mount and all, has never been simpler. And remember, if all else fails, there’s no shame in a little professional help—you’ll be back to admiring your road-bound reflection in no time.