
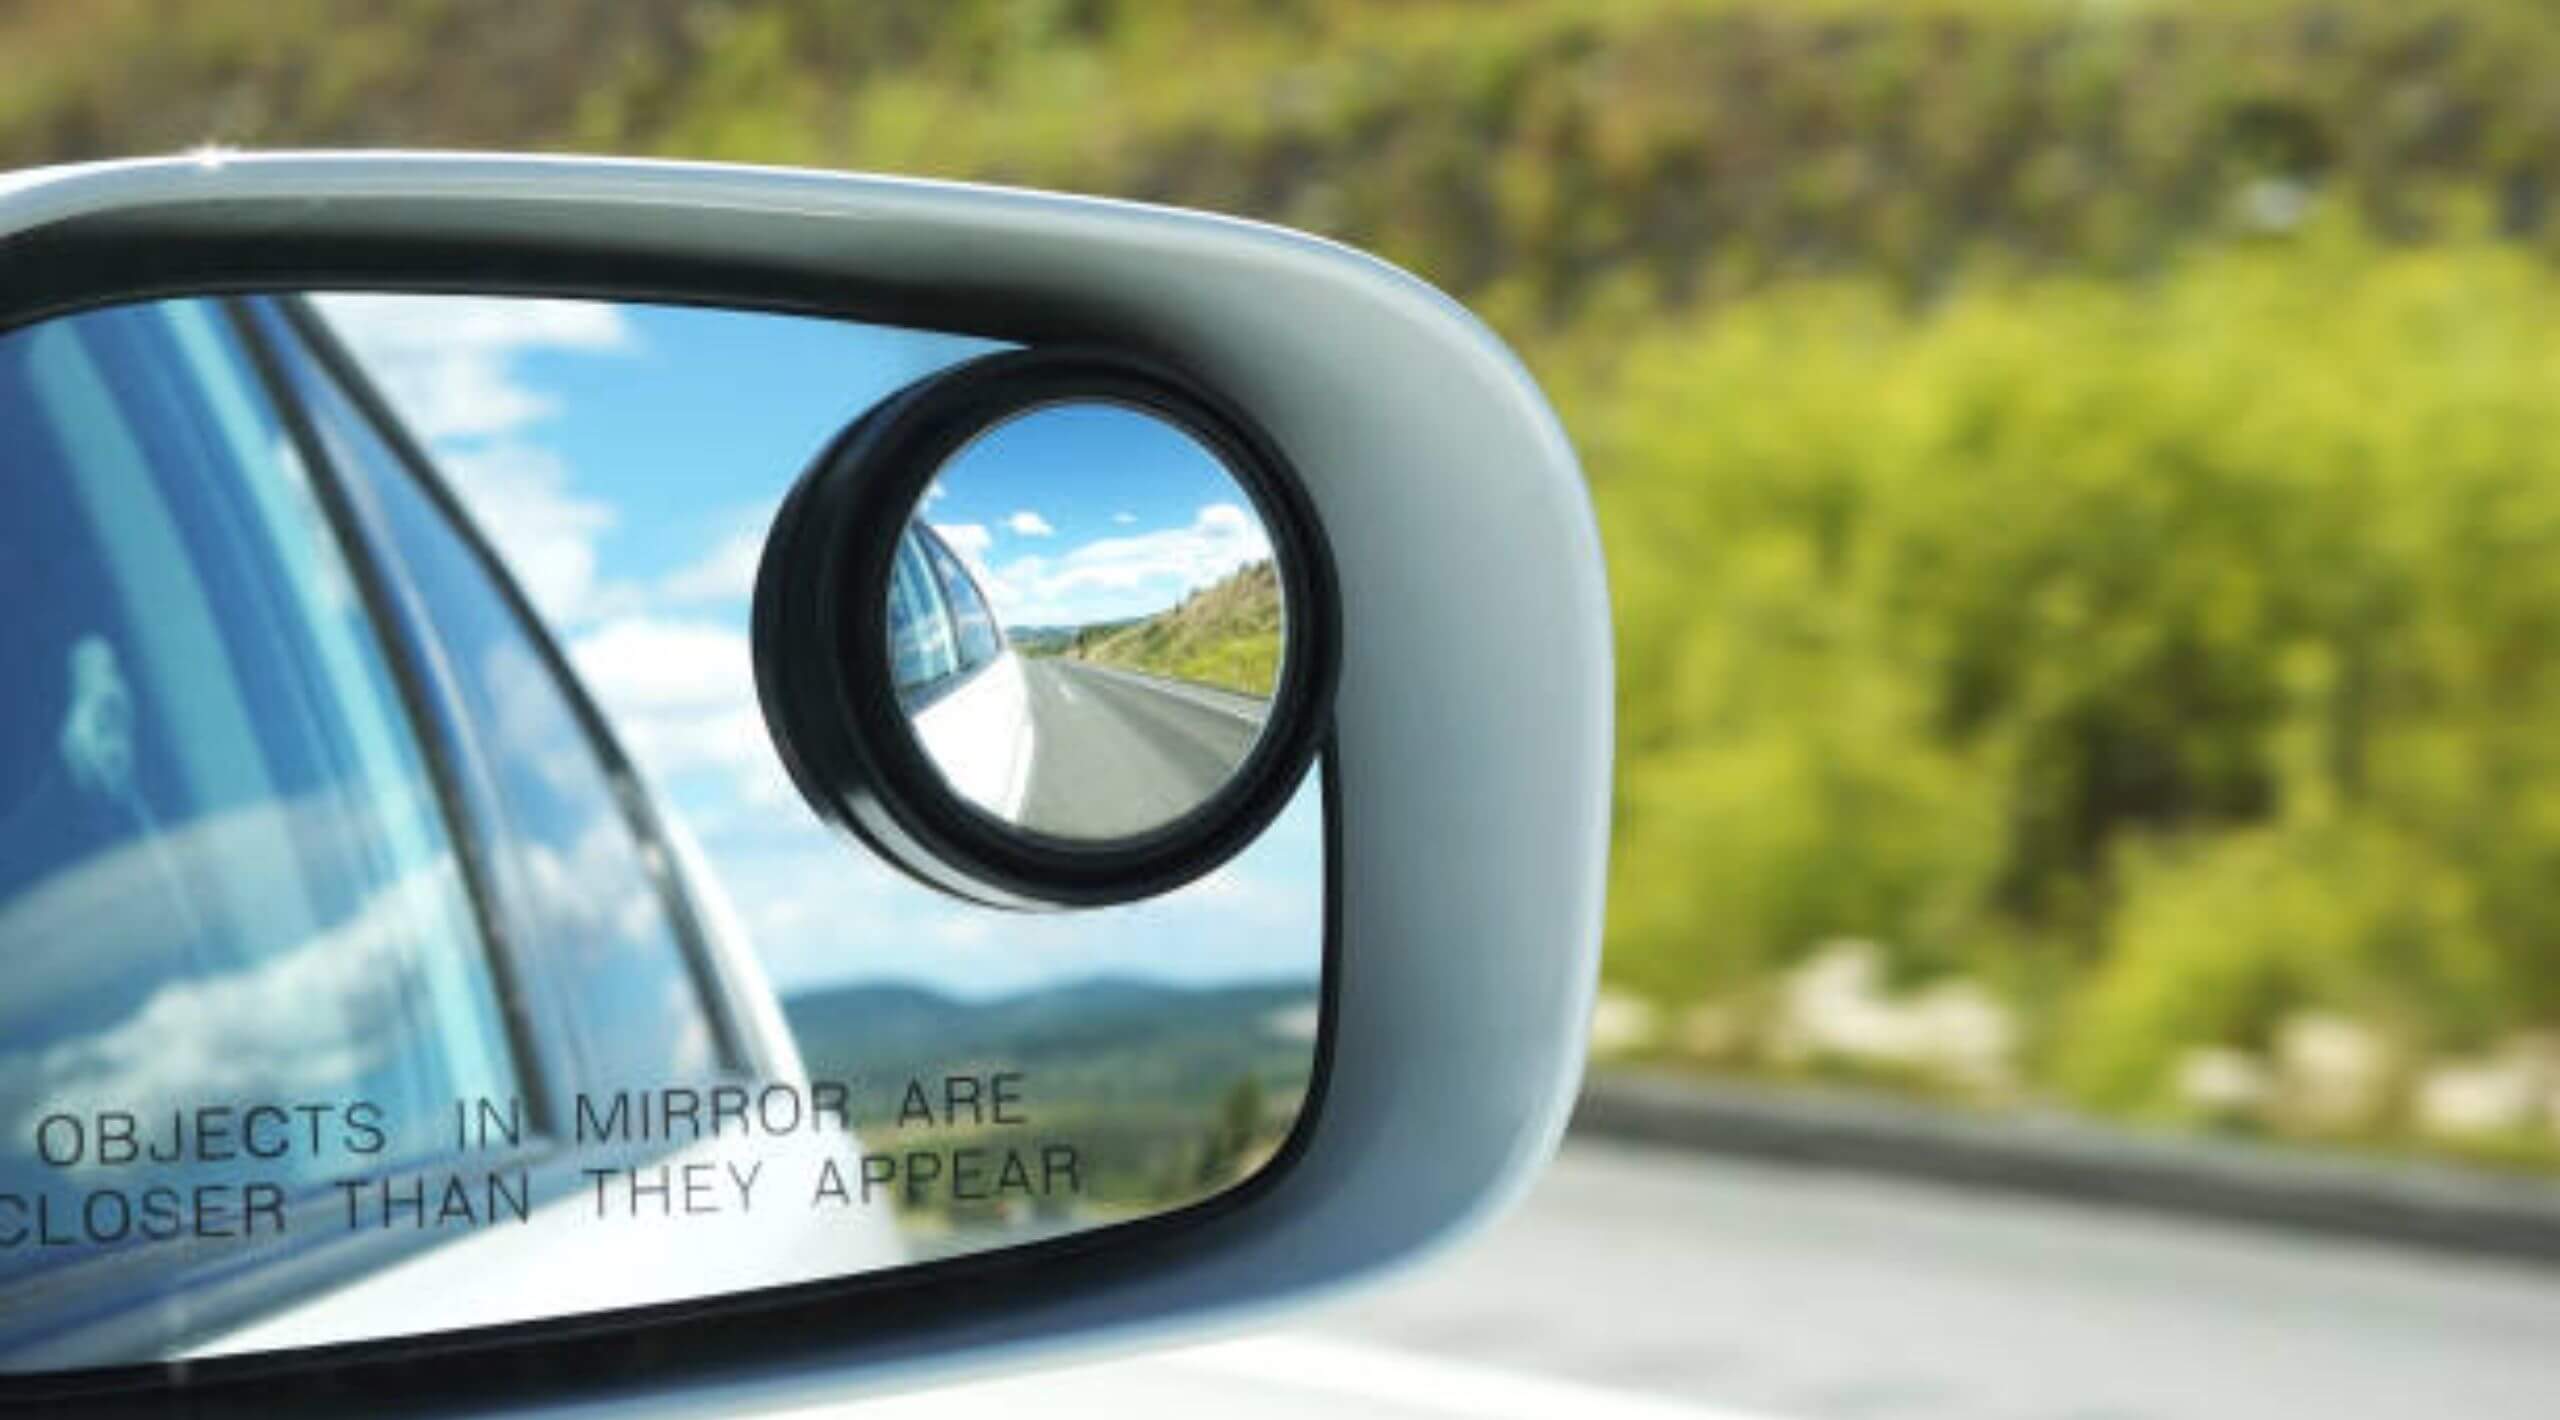
Blind spot mirrors are like those little angels for drivers, revealing the hidden corners around your car that can make driving a bit of a guessing game. They’re pretty nifty for keeping an eye on those hard-to-see spots. But there are times when you might want to part ways with them, maybe for a replacement, or perhaps you fancy a change. If the thought of removing them has you puzzled, wondering, “How do I even begin to remove blind spot mirrors?” don’t worry, you’ve landed in the right spot.
Whether it’s a matter of preference or necessity, understanding the ins and outs of removing these mirrors can save you from a world of frustration. It’s not about brute force; it’s about the right technique. So, if you’re ready to say goodbye to your old blind spot mirrors and embrace a clearer, unobstructed view or a new set of mirrors, stick around. We’re about to delve into the simple, yet effective ways to remove those handy little mirrors without causing a ruckus. Keep in mind, it’s all about the approach, and I’m here to guide you through it, step by step.
Why Removing Blind Spot Mirrors?
You might be scratching your head, wondering, “Why would anyone want to remove a blind spot mirror?” It seems counterintuitive, right? These little mirrors are like the unsung heroes of driving, revealing those sneaky, hidden spots around our cars. But, believe it or not, there are several reasons why one might decide to part ways with them.
Sometimes, it’s a matter of placement. If a blind spot mirror is stuck in the wrong spot on the side mirror’s surface, it can be more of a hindrance than a help. It’s like having a constant, annoying pebble in your shoe – it just has to go. And let’s face it, not all blind spot mirror locations are created equal. Some spots can make the mirror practically useless, turning it into nothing more than a pesky, obstructive add-on.
Then there’s the age factor. Over time, these mirrors can get worn out, scratched, or discolored. When that happens, it’s time for an upgrade. No one wants to squint through a foggy, scratched mirror while trying to navigate through traffic. It’s all about clarity and precision on the road, and an old, battered blind spot mirror just won’t cut it.
And let’s not forget about technology. With the advent of advanced blind spot detection systems in newer car models, some might find the old-school mirrors redundant. Why settle for a simple mirror when your car can alert you with beeps, lights, and even vibrations? It’s like comparing a flip phone to a smartphone – the latter just offers more.
Regardless of the reason – be it placement, wear and tear, or a preference for tech – understanding how to remove blind spot mirrors without causing damage is crucial. It’s a handy skill, ensuring that you can make the change smoothly, without leaving behind scratches or residue. After all, it’s not just about removing; it’s about maintaining the integrity of your side mirror, ensuring a clear, unobstructed view of the road. Whether you’re upgrading, replacing, or just prefer your side mirror au naturel, knowing how to properly remove that little mirror is key to a hassle-free driving experience.
Tools and Materials Required
Planning to remove those blind spot mirrors from your vehicle? Consider it like preparing a delightful dish – you wouldn’t start without all the ingredients on hand, would you? Likewise, ensuring you have the right tools and materials is key to a seamless experience over a hair-pulling one.
| Tool/Material | Function | Importance Level |
| Adhesive Remover or WD-40 | Breaks down the adhesive anchoring the mirror, facilitating easier removal | Level 3 |
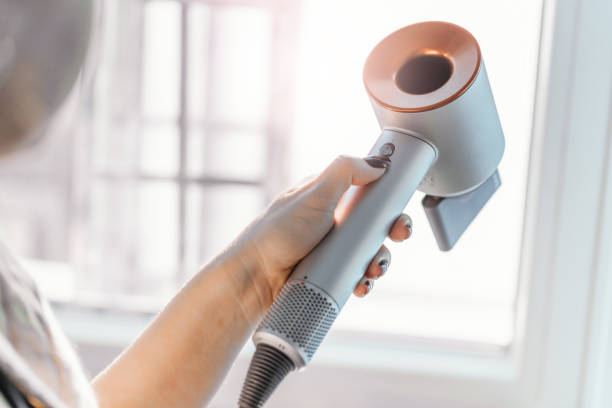
| Hairdryer or Heat Gun | Emits heat to soften the adhesive, making the mirror removal process simpler | Level 2 |
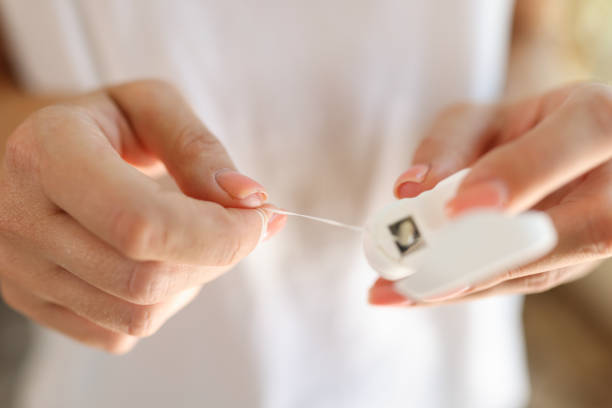
| Dental Floss or Fishing Line | Slices through the weakened adhesive without causing damage to the mirror or the vehicle | Level 3 |
| Soft Cloth | Essential for cleaning up residual glue or residue, prevents scratches on the mirror | Level 1 |
| Razor Blade or Razor | Helps remove stubborn adhesive spots without harming the mirror’s surface | Level 2 |
Notice: Level 1: Low Importance; Level 2: Medium Importance; Level 3: High Importance.
- Adhesive Remover or WD-40: View this as your secret sauce. It works wonders in breaking down the tenacious glue anchoring the mirror. A few sprays or applications, and you’ll see that stubborn adhesive start to relent, making your mission much simpler.
- Hairdryer or Heat Gun: It may seem a bit out of the box, but hear me out. The heat these tools emit can soften the adhesive, simplifying the mirror’s removal. And if you’re concerned about your hair gadgets – rest assured, they’ll remain just as they were.
- Dental Floss or Fishing Line: Didn’t see that coming? Beyond their use for teeth cleaning and angling, these slender, durable lines work perfectly to slice through the weakened adhesive. This ensures the mirror comes off without a hitch or damage.
- Soft Cloth: This is essential for cleaning up any residual glue or residue. Its soft nature ensures the mirror remains unscratched and pristine.
- Razor Blade or Razor: When confronted with those pesky, unyielding adhesive spots, a razor can be your hero. Yet, it’s all in the technique. Aim to gently clear the residue without harming your mirror’s surface.
In short, equipping yourself with the right tools is paramount. Think of them as dependable allies, supporting you throughout the process. So, before diving in, ensure you’ve got all these tools on hand. This foresight will shield you from those unexpected hitches when you discover you’re without a key tool. Armed and ready, you can confidently and effortlessly undertake your blind spot mirror removal task.
Method 1: Using a Hair Dryer or Heat Gun
So, you’ve decided to part ways with your blind spot mirror. The first method we’re diving into involves a tool you probably never thought you’d use for car maintenance: a hairdryer. Or, for those feeling a bit more adventurous, a heat gun. It might sound like something out of a quirky DIY video, but trust me, this method is not only effective but also quite safe for your car’s mirror. The idea here is simple: heat softens the adhesive, making the mirror easier to remove. It’s a gentle approach, ensuring that both the mirror and your car remain unscathed.
Step-by-Step Guide: Removing Blind Spot Mirrors with Heat
- Preparation Phase: Before jumping into the removal process, it’s crucial to have your side mirror clean and free from dirt. Any grime or debris could act as abrasive elements, risking scratches on your mirror. A swift cleaning will shield you from any future regrets.
- Heat it Up: Now comes the intriguing part. Take your hairdryer (or a heat gun if you’re up for it) and aim it squarely at the blind spot mirror, holding it there for a minute or so. The aim is to loosen the adhesive without getting the mirror too hot. You’ll begin to see the blind spot mirror’s edges twitching slightly, a sign that the adhesive is giving way.
- Easy Does It: With the adhesive now softened, use a soft cloth to gently edge off the blind spot mirror. If it’s being stubborn, avoid the temptation to force it. Instead, shower it with a little more heat. Remember, patience will be your ally in this endeavor.
- Cleanup Squad: Once the mirror is off, there might be some tenacious adhesive residue holding on. This is the scene where your razor blade takes center stage. Very gently, and we emphasize gently, scrape off the residue. The last thing you want is to leave scratches on the mirror. A few gentle swipes should have it all cleared up.
Following these steps, you’ll discover that eliminating a blind spot mirror using heat is not just effective, but also quite uncomplicated. It’s all about employing the right technique and a dash of patience. And once accomplished, you’ll be left with a clear, unobstructed view, ready to tackle whatever the road unfolds next.
Method 2: Using Dental Floss or Fishing Line
Alright, we’ve tackled the heat method, and now it’s time for a slightly unconventional, yet equally effective approach: using dental floss or fishing line. Now, I know what you’re thinking. “Dental floss? Isn’t that for, well, flossing?” And while it’s true that dental floss is typically reserved for maintaining those pearly whites, and fishing line for those relaxing weekends by the lake, they can also be your secret weapon in removing blind spot mirrors.
The beauty of this method lies in its simplicity. By using a sawing motion, the dental floss or fishing line can effectively cut through the adhesive binding the blind spot mirror to your car’s side mirror. It’s a gentle approach that minimizes the risk of damage. No forceful tugging, no aggressive pulling, just a smooth sawing action that does the trick.
Step-by-Step Guide: Removing Blind Spot Mirrors with Floss
So, you got rid of that blind spot mirror. Well done! But hold on, what’s this? A lingering, tacky film smirking at you from the side mirror? Oh, the leftover glue. Kind of like the guest who just doesn’t know when to leave. However, don’t worry. Wiping out this sticky nemesis is easier than you think.
While the residue can be tough, with the right tools and methods, it stands no chance. It’s simply about knowing the tricks and adding a touch of effort. Believe me, with the correct technique, your mirror will sparkle without a trace of residue soon.
- The Miracle Solution: Start by applying a little adhesive remover or WD-40 on a soft cloth. Consider this your secret weapon against sticky leftovers. Gently rub the spot in a circular pattern. You’ll see the residue beginning to peel away, akin to pampering your mirror with some tender care.
- For Those Tough Areas: There might be moments when, no matter how hard you try, some sticky bits remain. Here’s where your razor blade steps in. But, be careful: handle this with utmost care. Gently scrape away the residue, ensuring you’re not pressing too hard. You wouldn’t want any scratches on your mirror.
- The Final Touch: After dealing with the sticky enemy, it’s time for a final polish. A soft cloth paired with a quality glass cleaner should get the job done. The goal is to achieve a clear, radiant finish.
Always remember, though the residue can be a challenge, equipped with the right tools and a sprinkle of patience, you can have your side mirror looking brand new. Clear mirrors equal clear visions, leading to safer travels. Drive safely!
Precautions to Take: Avoiding Damage to Your Car Mirror
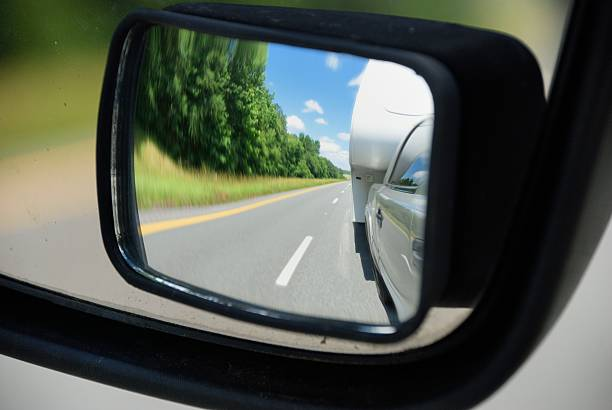
Embarking on the journey to remove a blind spot mirror is like stepping into a delicate dance. It’s crucial, vital even, to tread lightly, ensuring that your car mirror emerges unscathed from the process. After all, the side mirror is not just a piece of glass; it’s your window to the world behind you, a crucial ally in your daily drives, helping you navigate the roads safely.
The side mirror is a delicate component, and any damage incurred during the removal process can lead to unnecessary complications and safety hazards. It’s not just about removing the blind spot mirror; it’s about preserving the integrity of your side mirror. A scratched or cracked mirror can impair your view, making driving a risky endeavor.
- Gentle with the Tools: When using razors or any sharp tools, it’s essential to be as gentle as a breeze. The aim is to remove the blind spot mirror and its residue, not to leave behind a battlefield of scratches or cracks. Approach each step with caution and care, treating your mirror with the respect it deserves.
- Mind the Heat: When applying heat, it’s crucial to avoid extremes. Intense, focused heat can be detrimental to the mirror. It’s about warming up the adhesive, not cooking your mirror. Ensure the heat is evenly distributed, and if the mirror seems resistant, resist the urge to crank up the heat. Patience and moderation are your best friends here.
- Patience is a Virtue: If the mirror seems to be holding on for dear life, don’t resort to force. Patience is the golden key in this process. Give it time, reapply heat if needed, and allow the adhesive to soften. Forcing the mirror off can result in damage, turning a simple removal process into a mirror replacement project.
Remember, the goal is to remove the blind spot mirror while maintaining the pristine condition of your side mirror. It’s a delicate balance, a dance of precision and care. By taking the necessary precautions, you ensure a smooth, damage-free removal process, leaving your side mirror clear and ready for the journeys ahead.
Tips and Tricks: Making Blind Spot Mirror Removal Easier
Ah, the allure of a good life hack. Who doesn’t love a shortcut or a nifty trick that makes life just a tad easier? Especially when it comes to tasks like removing a blind spot mirror, where the margin for error is thin. So, if you’re gearing up for this task, here are some golden nuggets of wisdom to ensure a smooth, hassle-free experience.
- Slow and Steady: It’s easy to get impatient, especially when that mirror seems to mock you with its stubbornness. But resist the urge to go full Hulk mode and yank it off. More often than not, this brute force approach leads to damage, leaving behind a trail of adhesive residue or, worse, a scratched mirror. Remember, it’s a marathon, not a sprint. Breathe, take your time, and let the tools and techniques do their magic.
- The Right Arsenal: Just like a chef relies on their trusted set of knives, the success of your mirror removal endeavor hinges on the tools you use. Ensure you have a good quality adhesive remover or WD-40, a soft cloth that won’t scratch the surface, and sharp, clean razors for that pesky residue. The right tools can make the difference between a smooth operation and a botched job.
- Tackling the Tough Spots: If the mirror seems a bit stubborn, don’t lose hope. Sometimes, it just needs a bit more warmth from the hairdryer or a few more gentle tugs with the floss. Remember, patience and the right approach will get you there. A bit of extra effort now can save you from headaches down the road.
- Setting the Stage: Before you start, make sure the mirror’s surface is spotless. Think of it as preparing a canvas for a masterpiece. Any dirt or debris might scratch the surface. Giving it a quick clean ensures you’re starting on the right foot, paving the way for a smooth removal.
In a nutshell, the secret to removing a blind spot mirror seamlessly boils down to patience, having the right tools on hand, and a touch of preparation. Armed with these insights, you’re all set to handle the challenge, ensuring a crystal-clear view for all your upcoming adventures on the road.
Common FAQs
Mirrors Delving into the realm of blind spot mirrors can prompt a series of questions. Whether you’re a seasoned driver or just starting to explore the benefits of these small but mighty mirrors, there’s always more to discover. Below are some of the most frequently posed queries and their succinct answers:
- How Does One Install Blind Spot Mirrors?
Installation is a breeze! Begin by cleaning the area where the mirror will go, ensuring a secure fit. Once that’s done, remove the adhesive backing from the blind spot mirror, position it on the side mirror, press firmly, and voila! Your side mirror now has a new companion to reveal those hidden corners. - Where Should Blind Spot Mirrors Be Positioned?
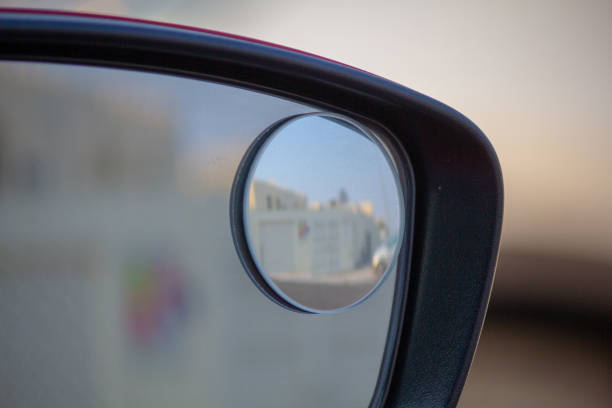
Placement is crucial; these mirrors can’t just go anywhere! Ideally, they belong on the bottom outside corner of your side mirrors, a location that broadens your visual range, allowing you to spot those elusive vehicles lurking in your blind spots. It’s a minor adjustment with major benefits. - What is the Small Mirror on Some Cars Named?
Ever spotted that small mirror on some vehicles and wondered about its name? Meet the blind spot mirror! It acts as the side mirror’s assistant, revealing what the main mirror might overlook and offering a more complete picture of your surroundings. It’s like gaining an extra set of vigilant eyes. - How Can One Remove 3M Adhesive from a Mirror?
3M adhesive is renowned for its durability, which is beneficial until removal time rolls around. But, there’s no need for stress! Applying a bit of adhesive remover or WD-40 to a soft cloth and gently rubbing it on the adhesive usually does the trick. It’s like whispering to the adhesive, “It’s time to part ways.”
Grasping the subtleties of blind spot mirrors and resolving related inquiries means you’re better prepared to utilize them effectively. Whether it pertains to installing, positioning, or removing, having the appropriate knowledge makes every journey a bit smoother and significantly safer.
Exploring Alternative Options: Technology for Blind Spot Detection
Driving is taking a turn for the better with emerging tools aimed at enhancing our safety. Gone are the days when mirrors were our sole companions in keeping an eye on those tricky blind spots; we’re now entering an era brimming with innovative alternatives.
- Blind Spot Monitors – A Second Set of Eyes: A lot of cars rolling out today are equipped with these nifty monitors. Picture this: an unblinking guardian, always on the lookout. If another car tries to sneak up on you, these monitors are quick to alert you with a light or a sound. It’s akin to having a vigilant friend riding shotgun, contributing to a more secure and stress-free drive.
- Revamped Blind Spot Mirrors – Tradition Meets Tech: For those with a fondness for the good old mirrors but open to a bit of modern flair, there are exciting developments. Some mirrors out there are stepping up their game; not just reflecting, but also lighting up or sounding an alarm when a vehicle is in your blind spot. And the adjustable angles on some models? That’s the cherry on top. It’s a harmonious blend of the old and the new, catering to drivers who enjoy a bit of both worlds.
To sum it up, as technology evolves, so do our driving aids, presenting a plethora of options to bolster road safety. Whether you’re a tech enthusiast or a lover of timeless classics, there’s a suitable pick for everyone. Ultimately, every innovation is steering towards the same destination: ensuring each journey is as safe and delightful as possible.
Final Thought
Removing blind spot mirrors isn’t a Herculean task if you know the right steps. Whether you prefer the heat method or the flossing method, having patience, the right tools, and a gentle hand will help you remove those mirrors without damaging your car. And remember, reinstalling is a breeze, and the placement is crucial, so find that sweet spot on your side mirror’s surface for your new blind spot guardian.
After all, whether it’s a stick-on mirror or high-tech blind spot detection, the goal is the same: to make our journeys on the road safer and more secure. Safe driving out there!